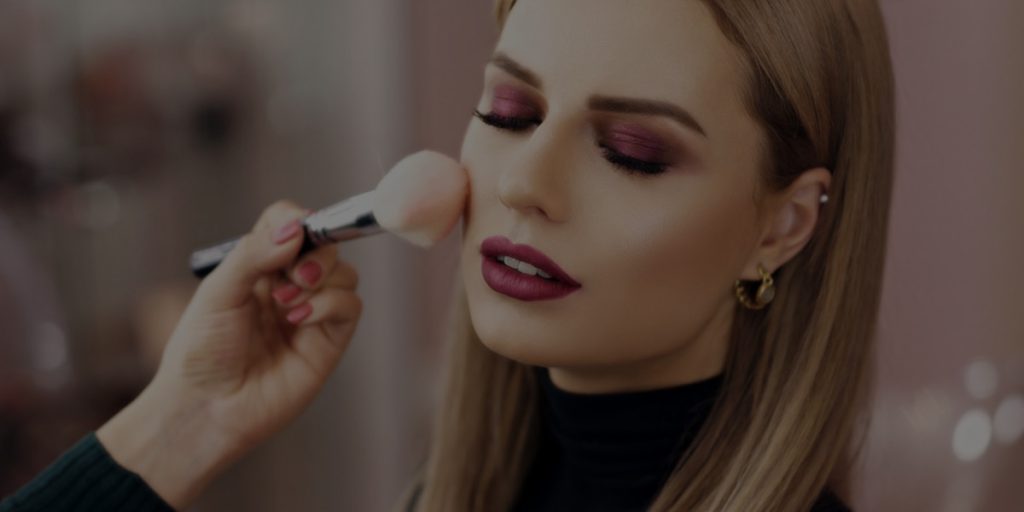
A makeup face diagram is a design printed on special paper that absorbs pigments well, so you can shape your makeup application technique. If you want to create a wedding swatch or color guide, a face map is a great option as you can better visualize the look you want for any makeup client or team.
It can also be a great tool for keeping track of all the products and color combinations you use.
Why are face charts a better idea
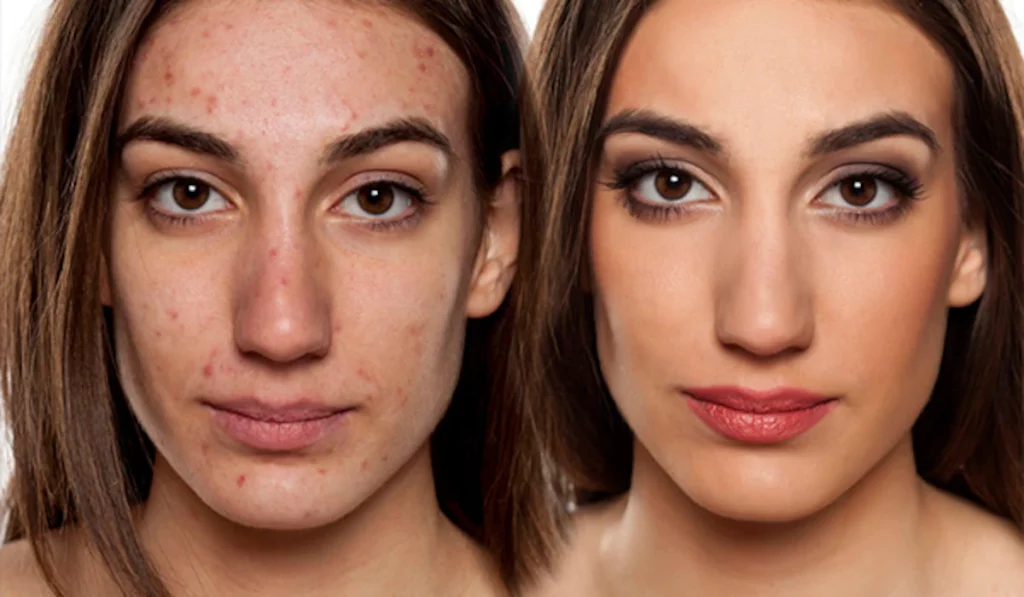
Because they are neutral. The makeup shown on the face card can be adapted to any skin tone or face shape. In some cases, it can be misleading to show a portfolio of before and after photos to a client to help them decide what kind of makeup they are looking for.
When people like certain aspects of a person in a photo, they usually think they like a certain aspect. The exact same makeup can vary from person to person due to the characteristics of each person. It is always advisable to choose a make-up that enhances the client’s bones and features.
How to use face charts
The most important thing to consider is the quality of the paper – if you’re printing your own makeup paper at home, you should use matte paper, watercolor paper, or resume paper, because plain paper can be very shiny and slippery color correctly set.
Go step by step: When creating a business card template, first select the products you want to use. Once all the products and brushes are ready, we move on to coloring the face map.
The Face
Choose a light color and move around the outline of the face map in a circular motion. Then move on to a darker powder to color the rest of the face. Then choose brown and start shaping the nose and cheeks. Important: Do not color the T area of the face map. It has to stay clean to enhance your makeup. Don’t forget to take notes to keep track of your foundation and styling products. Pencils and gel liners are suitable for lining and defining different shapes, such as the outline of the eyes or nose.
The Eyebrows
When you’re ready to style your face, start styling your brows. If you want to give them a realistic look, pay attention to the tools you use. Personally, I prefer to use a regular brown pencil and professional eyebrow powder.
The Eyes
I recommend starting with a soft brown for the eyes, as this is a transition color that works best with a makeup palette. Highly pigmented eyeshadows or powder products are best for applying and blending color. Small, firm and compact brushes are best for spreading and mixing paper colors. Create the eyeshadow you want and then switch to the eye color. Try pencils that give the pupil a very realistic look and highlight the light shade in the pupil with a white liquid liner.
The Eyelashes
For me, the hardest part of creating a face map is applying the lashes: you have to use a pencil or a very soft eyeliner and you are very careful how much pressure you put on the paper and you are describing it. Once you’ve done this successfully, it’s time to move on to the best part: the lips.
The Lips
First, style your lip with a brown tint. Then she applies the desired lip color. Whether you can do it with a pencil or a real lipstick, it depends on your choice. After applying the lip color, you can blend it with a white liquid pencil to make it more realistic. Finally, set the face map with hairspray for a transferable duration. And here’s your perfect makeup program in just a few steps. If you want to know the importance of a detailed face created by a makeup artist, this article can be a good source of inspiration.

